

Fixing a dent in the wall and making it look like nothing happened can be tricky. Fixing a dented corner can be even trickier.
Making a dent in your walls can sometimes be quite a shock to the system. Drywall is tough, but it’s not entirely protected against the occasional mishap. We try our best to be careful and care for our homes, but sometimes accidents happen.
Don’t be too hard on yourself if it does, and it’s not the end of the world. Luckily, a dent in the wall is easy enough to fix, and if you do it right, no one will be any wiser about what happened. You’ll be the only one who knows that your wall might not be 100% perfect the way it was.
Depending on how big of a dent you’re working with, this project is something you could probably tackle on your own. Unless it’s a big hole in the wall, you need to call a handyman to get the job done. But it’s probably not that bad if we’re talking about a dent, which you may fix with corner guards or other solutions.
Ready to tackle the project? Pick a weekend or a day when you’re ready to roll up your sleeves and let’s get cracking at fixing that dent in the corner of your wall:
1. Use Spackling That Is Shrink Free
This part is crucial to fixing that dent in the wall, so it looks as good as new. Because you’re working with the corner of the wall, the edges make it more challenging to fix than a flat surface. Shrink-free spackling will give you much better results without the risk of dealing with bubbles or buggers.
2. Apply It on the Dented Corner
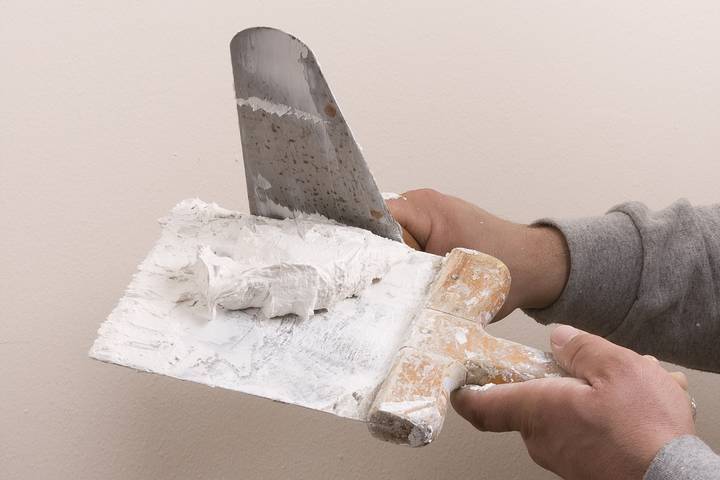
You can use your fingers or a putty knife to apply the spackling into the dented corner of your wall. The advantage that comes with using your fingers is precision. You could scoop the right amount and place it directly in the dented groove. Once applied, you could then use a putty knife to even things out.
Apply a generous amount of spackling into the dented area of your wall. If you’re working with your fingers, make sure you are pressing the spackling directly into the cracks. Do the same with a putty knife to cover the dent well. After you’ve smoothed out the area with a putty knife, check to see if more spackling is needed before you move on to the next step.
Oh, but before you start applying the spackling to the wall and fixing the dent, here’s a quick tip. Save a little bit of the chipped-off area where the dent is. You’ll want to take this little bit of wall with you to the hardware store later. This is the best way to find the paint that will match your existing wall’s exact colour.
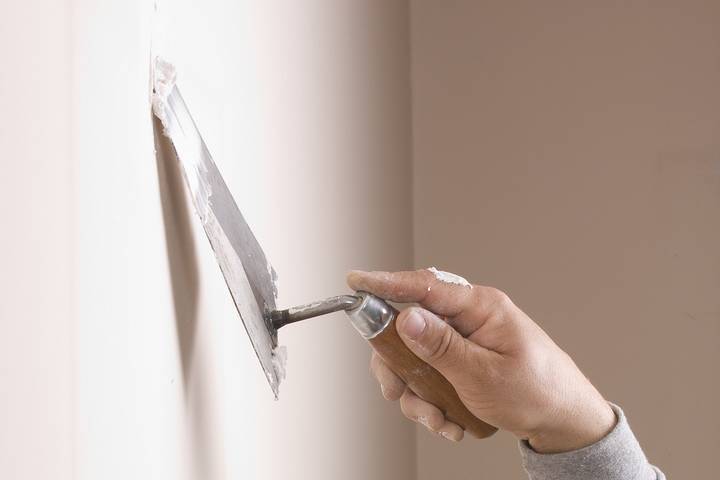
3. Scraping Off the Excess
Once you’ve finished going over the dent with the spackling, it’s time to reach for that putty knife again. This time, however, you’ll use the knife to scrape off any excess spackling from the wall. This will help create the smooth and even finish you’re hoping for.
4. Allow Drying Time
You may be eager to get the job done, but this is the time to step back. Your spackling needs some drying time before you can move on to the next step. Give your spackling at least 24 hours to dry; it should be good.
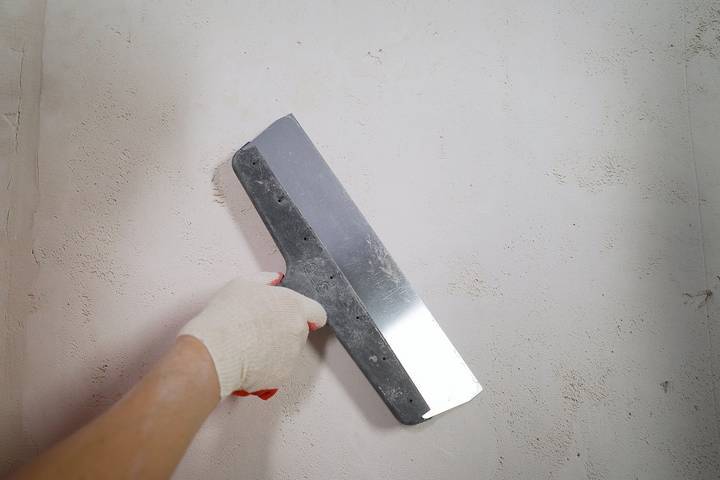
5. Sanding It Down
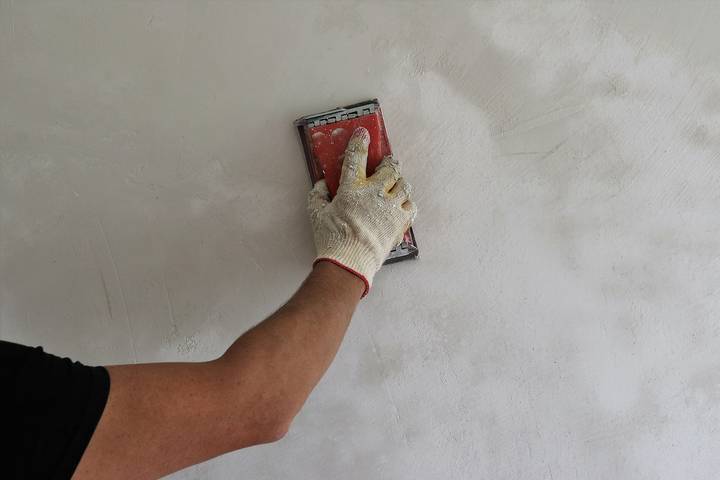
The next step of the process is to sand down your spackled wall area to get the smooth finish you need. Go over it a few times with fine-grit sandpaper, which should do the trick. Keep sanding until the edge of the wall feels smooth to the touch.
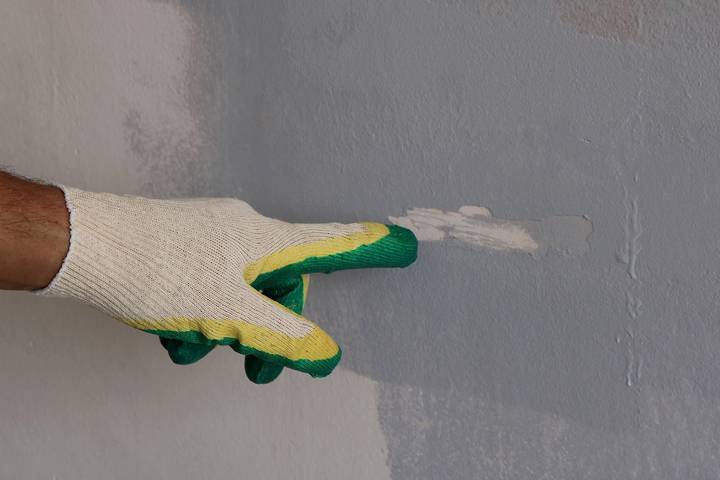
6. Touch Up with a Coat of Paint
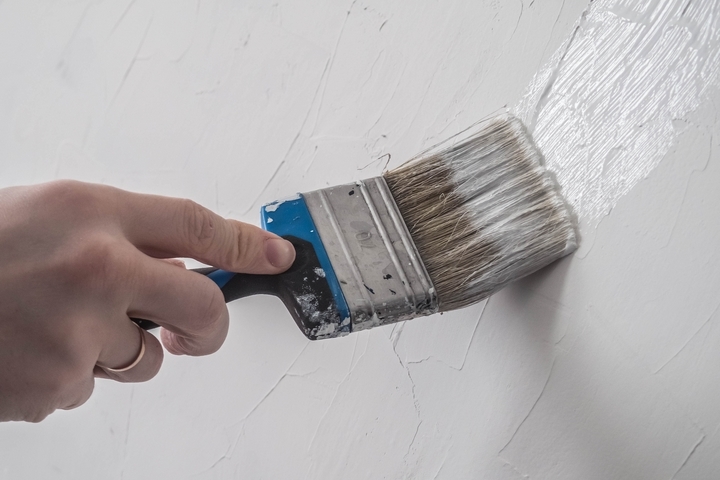
Finally, it’s time to finish off your excellent repair work with a coat of paint. Go over the wall area you just fixed with a coat or two of paint. Don’t forget to allow drying time between each layer of paint you apply for the best results.
Painting the corner that you just patched up ensures that your repair work is not noticeable. Unless anyone knows what happened, no one will even notice that the wall was dented before. Especially if your new paint blends seamlessly with the existing paint on the walls. See where saving that little chipped-off wall bit comes in handy?